
Overview
Persona provides default translations for the default text in each step of an Inquiry. You can edit these translations using the Flow Editor.
To learn more about the translation feature, see Translations / Localizations.
To edit the translations for an inquiry screen:
Steps
-
In the Persona Dashboard, select Inquiries > Templates in the navigation bar. Select the Template you want to edit.
-
In the Flow Editor, hover your mouse over the screen you want to edit, and click the pencil icon.
-
In the sidebar of the Screen Editor, select the text component you want to edit.
- For example, it might be Text component.
-
In the settings for the component, click the Translations icon at the top right of the configuration panel.
-
In the Translations modal, you can edit the translation for each language.
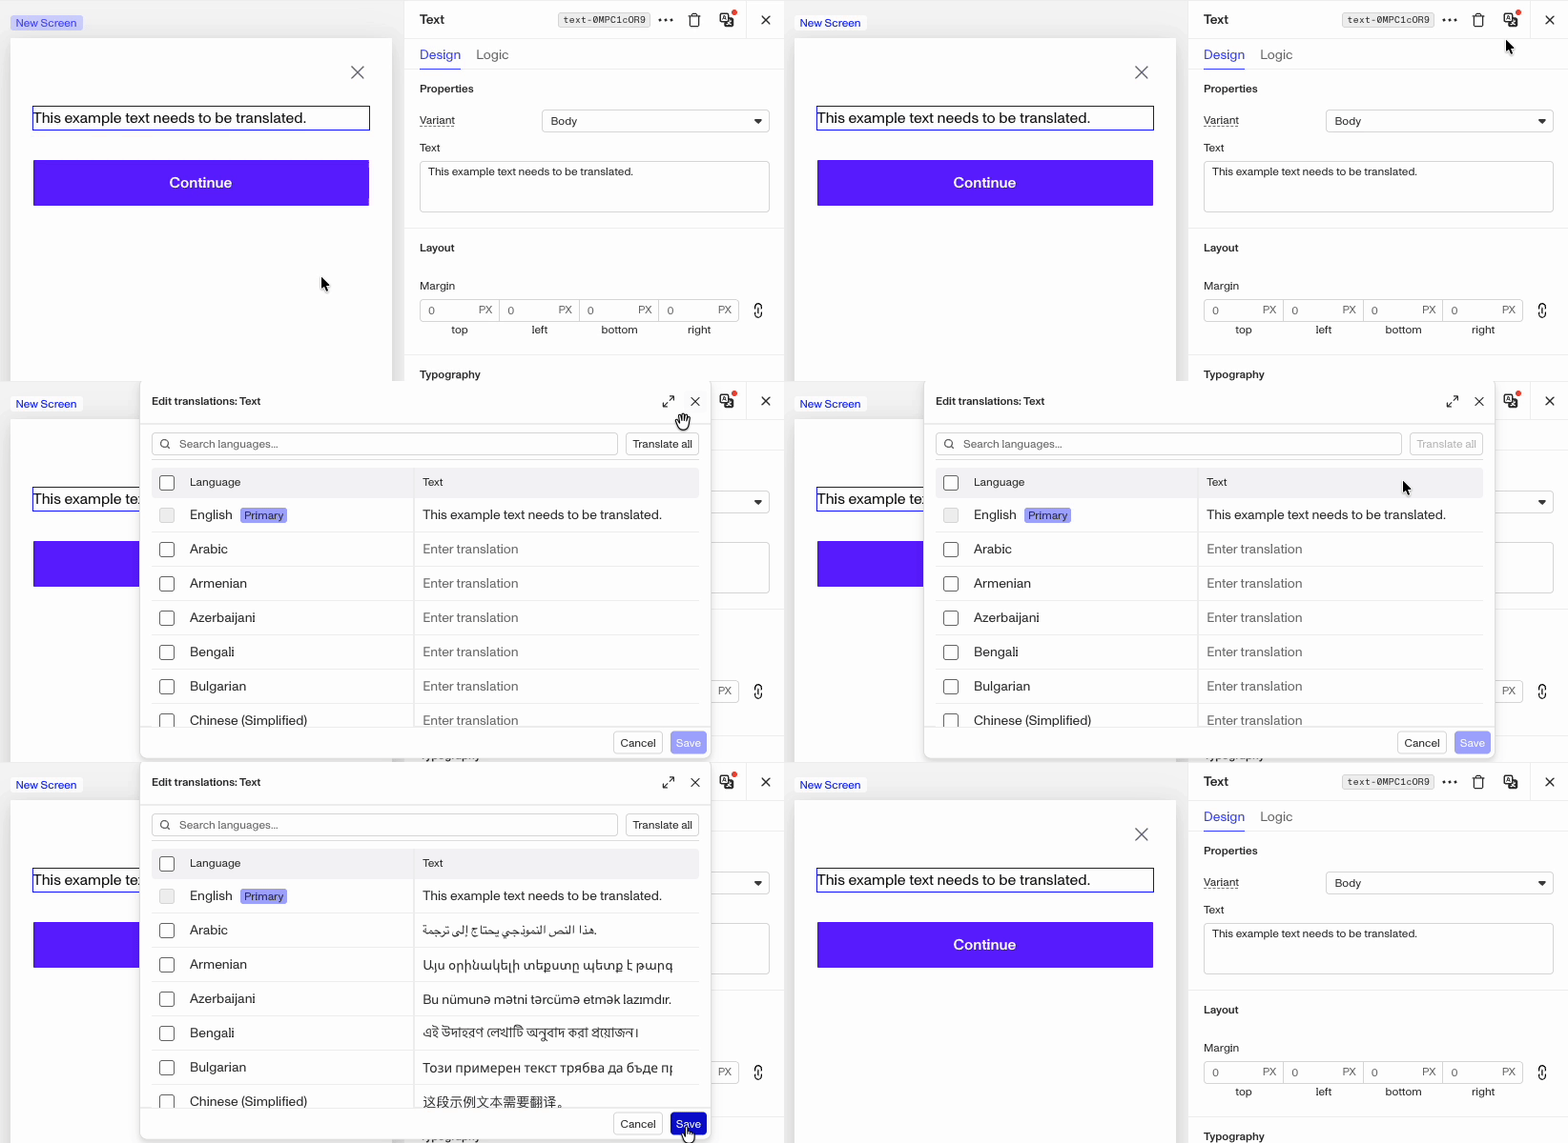
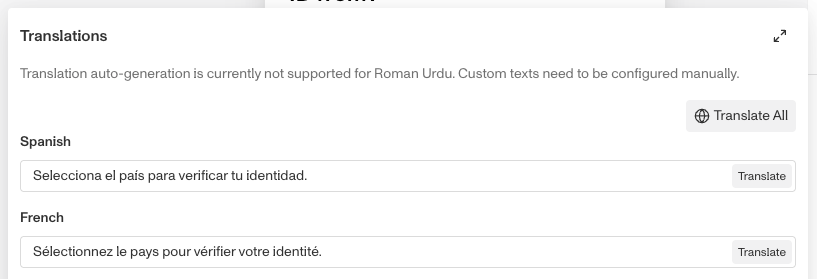
You can also use the auto translate feature by clicking the Translate All button at the top right, or you can trigger that by individual country.
-
Click Save in the top right corner of the Flow Editor.
To export, translate, and import for the whole inquiry
For larger inquiry flows with dozens of screen, doing screen by screen translations become inefficient. To help facilitate bulk translations, you can export the inquiry template’s text fields as a CSV, translate as needed, and import the changes back into the template.
The CSV has one row per translatable field across screens, components, built-in pages, and platform dialogs. Its first columns identify the step, component, and text attribute; the remaining columns represent the template’s enabled locales, with en-US included as the source when enabled.
Import Merge behavior
When you import a translated csv back into the template, only updated fields will replace existing text. Blank fields will not delete existing translations.
Steps
-
In the Persona Dashboard, select Inquiries > Templates in the navigation bar. Select the Template you want to edit.
-
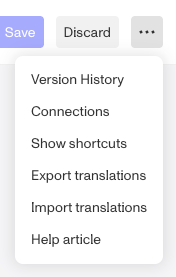
At the top right of the editor, click the three dot icon to open the dropdown menu.
-
Click “Export translations”.
-
A message saying “You will receive an email when your export is ready” will temporarily display at the bottom right.
-
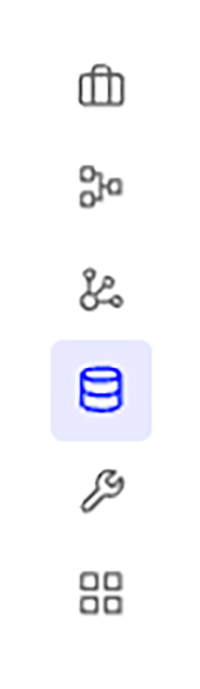
In the Dashboard navbar, go to Data > Exports.
-
Download the csv file and unzip it.
-
Edit translations as needed and save the csv.
-
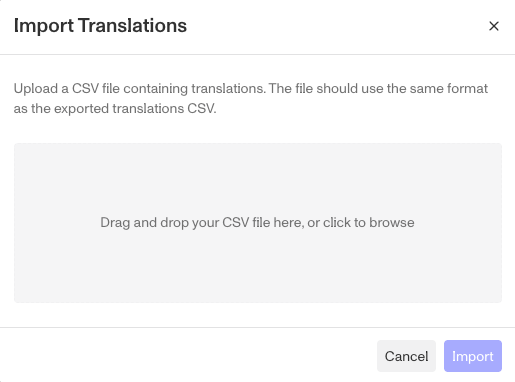
Return to the three dot icon, and select Import Translations from the drop down.
-
Drag and drop your csv into the import translation window, or click in the grey area to browse for the file.
-
Click Import.
As usual, you must publish your Inquiry Template for your end users to see your latest changes. Learn what it means to publish here.