
Risk Scoring is currently in beta. For more information and to request access, please reach out to your Persona account team.
This article walks you through building, testing, and publishing your first risk score template. By the end, you’ll have a published template that Workflows can use to score customers.
Before you begin
- Risk Scoring must be enabled for your organization.
- Decide what population this template rates (for example, individuals at KYC onboarding, or businesses at KYB onboarding). Each template should cover one population and purpose.
Step 1: Create the template
- Open Apps → Risk Rating → Risk Score Templates.
- Select New risk score template.
- Choose a starting point:
- Blank template: an empty draft for a fully custom methodology.
- Individual AML risk rating: a Persona starter for individual risk.
- Business AML risk rating: a Persona starter for business risk.
- Enter a clear name. Recommended format: Population - Purpose - Region or Business Unit (for example, Business - KYB Onboarding - United States).
- Select Create template.
The app creates a draft. Draft changes are never used by live risk-score runs until you publish.
Step 2: Define your fields
On the Fields tab, define the inputs your template evaluates: the pieces of customer data such as country of residence, industry, or expected transaction volume.
For each field, set:
- Field key: the identifier Workflows will map customer data to.
- Type: number, string, yes/no, date, country, or a choice from a fixed list of values.
- Required: whether a calculation should expect this value.
- Missing-data policy: what happens when no value is supplied: for example, treat the factor as highest-risk, fall back to a default, or fail the calculation so it can be retried with complete data.
If several fields share a lookup list (for example, a country risk classification), define it once under Reference data and point fields at it. Reference sets are frozen into each published version, so editing the list later never silently changes historical scoring.
Step 3: Build factors and rules
On the Scoring tab, create the factors that make up your score. Each factor is one dimension of risk, scored from one or more fields.
For each factor:
- Give it a name and, optionally, a category (for example, Geography or Business Profile).
- Set its weight: how much it contributes to the overall score.
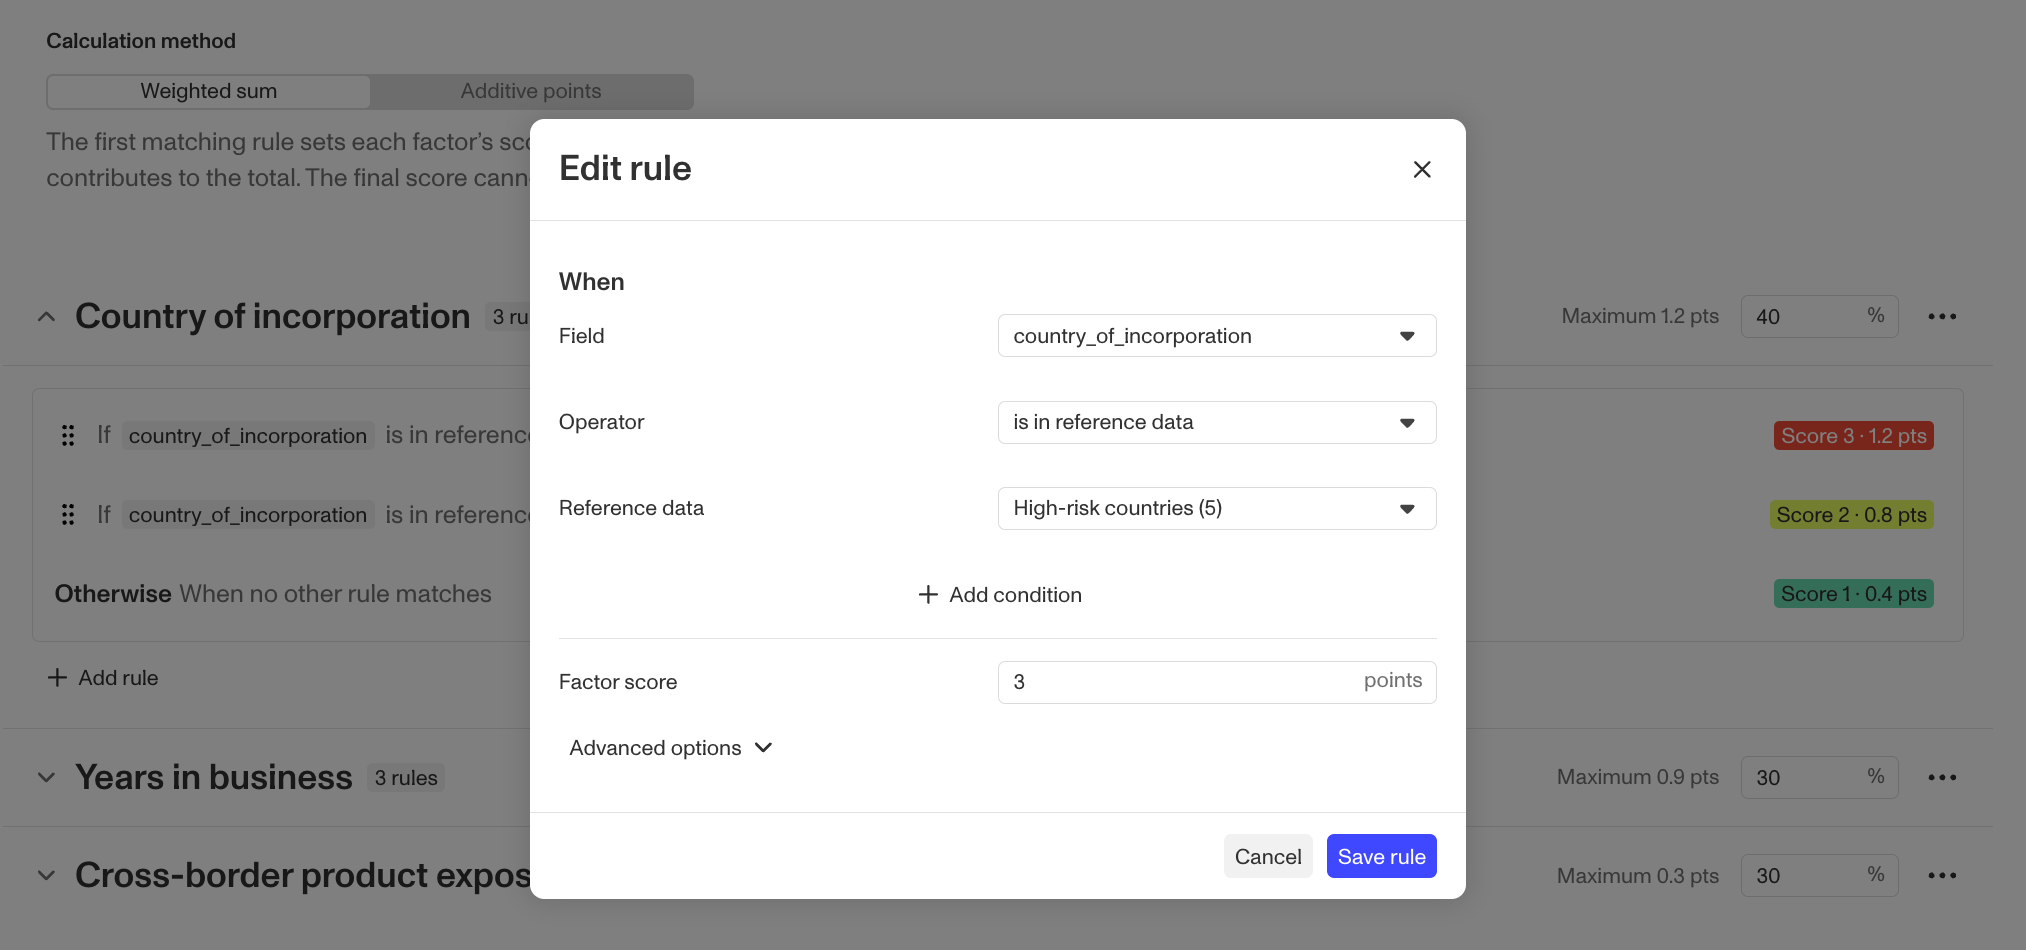
- Add rules in priority order. Each rule has one or more conditions and assigns a risk level when it matches.
- For conditions that should dominate everything else (for example, a sanctioned country), enable Force highest risk on the rule. A match raises the overall rating to high regardless of the weighted score.
Under Settings, choose the scoring model: Weighted sum (factor levels combine according to their weights) or Additive points (rules contribute points directly).
Step 4: Set your risk bands
On the Risk Bands & Simulate tab, define the score ranges that map to each risk level (for example, low, medium, high). The editor shows the highest total your current factors and rules can produce and can suggest ranges based on it. These levels are what your Workflows branch on.
Step 5: Simulate before you publish
Still on Risk Bands & Simulate, run simulations: enter sample values for your fields and preview the resulting score, risk level, and each factor’s contribution. Try at least:
- a clearly low-risk profile,
- a clearly high-risk profile,
- a profile with missing values, to confirm your missing-data policies behave the way you expect.
Simulations are never saved and never affect customers.
Step 6: Publish
Select Publish. The app validates the draft first. For example, every factor needs at least one rule, and risk bands must cover the possible score range. The app lists anything you need to fix.
Publishing creates an immutable version: its rules and reference data never change, and every score records the version that produced it. To change scoring later, edit the draft and publish a new version; you can review and restore earlier versions from Version history.