
Overview
You can create reports in bulk by uploading a CSV of information (individual names, business names, email addresses, phone numbers, etc.). To learn more about different ways to run Reports, read here.
Steps
To create a Report in bulk:
- First, download a CSV template from the Dashboard.
- Then fill out the CSV template with your data, on your computer.
- Then upload the completed CSV to the Dashboard.
Below, we cover each step in more detail.
Step 1: Download the CSV template
In the Dashboard:
- Navigate to Reports > All Reports.
- In the upper corner, click +Create report.
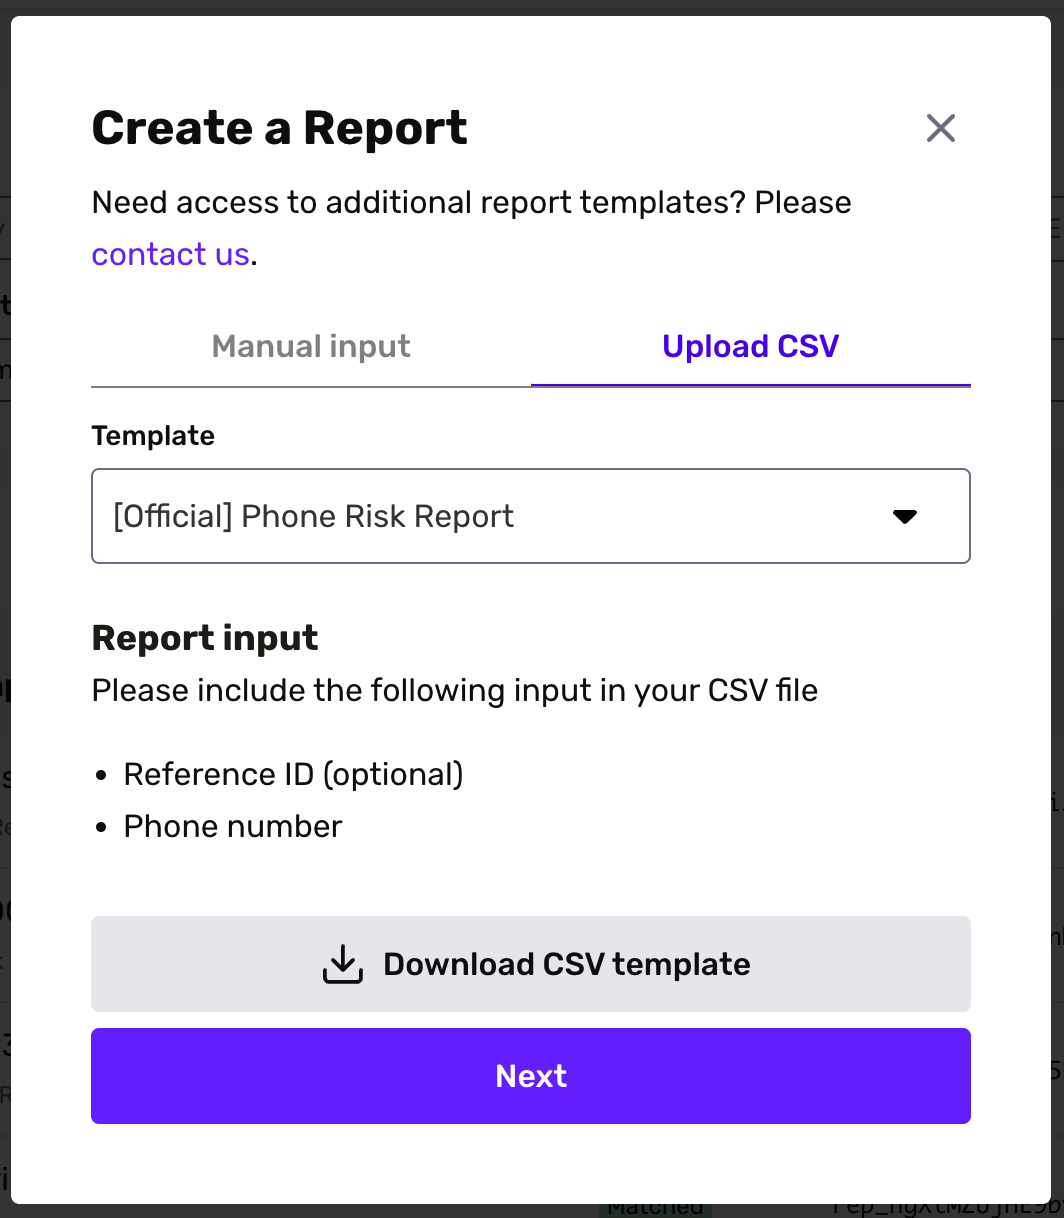
- In the Create a Report modal:
-
Select the Upload CSV tab.
-
Choose the Report Template you want to run.
-
Click Download CSV template.
-
Step 2: Fill in the CSV with your data
On your computer:
- Open the downloaded CSV template.
- Input the records you want to run the Report Template on. See the Creating the CSV template section for guidance.
- Save your changes.
Step 3: Upload the completed CSV
Return to where you left off in the Dashboard. In the Create a Report modal:
- Click Next.
- Upload the CSV template you just edited.
- Click Create Reports.
Creating the CSV template
For a successful upload:
- Please do not change, add, remove, or move the header names in the CSV template.
- Ensure each CSV has no more than 10,000 rows.
- If you would like to bulk create reports for more than 10,000 rows, break them into multiple smaller CSVs that meet the size requirement. Then, upload each of the smaller CSVs.
- Provide the required input(s) for each record.
Each row below the header row is one record, and Persona creates one Report for each row. Put each value in the column with the matching header. Fill in every required column on every row. You can leave an optional column empty, but keep its header in the file. When you select a Report Template on the Upload CSV tab, the Dashboard lists the inputs for that Report type and marks each optional input with “(optional)”. A row that does not have its required inputs, or that has an input in the wrong format, does not create a Report.
Example: Watchlist Report
A Watchlist Report has two required inputs: the individual’s first name and last name. Its CSV template has these headers:
| CSV header | Required | What to enter | Format |
|---|---|---|---|
reference_id | No | Your own identifier for the individual. If you enter one, Persona links the Report to the Account with this reference ID, or creates that Account. | Text |
name_first | Yes | The individual’s first name. | Text |
name_last | Yes | The individual’s last name. | Text |
birthdate_optional | No | The individual’s date of birth. | YYYY-MM-DD, for example 1985-04-23 |
country_code_optional | No | The individual’s country. | Two-letter ISO 3166-1 alpha-2 code, for example US or GB |
A completed CSV for two individuals looks like this:
reference_id,name_first,name_last,birthdate_optional,country_code_optional
user-1001,Jane,Doe,1985-04-23,US
,John,Smith,,
The second row has no reference ID, date of birth, or country code. It is still valid, because it has both required inputs.