
Overview
SCIM (System for Cross-domain Identity Management) is a standard to manage user and group provisioning in an Identity Provider (IdP). It makes sure that all relying parties, for example Persona, get the updates to users and groups. Persona supports some SCIM functions for customers that use Okta as their IdP.
Groups in SCIM are roles in Persona. To implement SCIM, you must first set up SSO.
High-Level Steps to Enable SCIM Provisioning for a Persona Organization:
- Enable SCIM Provisioning for the applicable Okta app.
- Configure the SCIM integration in the Provisioning tab for the app.
- Import users and groups from Persona.
- Create groups in Okta to map to Persona groups/roles.
Prerequisite
SCIM is a very sensitive feature. By default, API keys do not have SCIM permissions enabled. Persona recommends a dedicated API key for SCIM. Do not use the API key for general calls to persona-web.
Creating an API Key
- Go to your Persona Dashboard > API.
- Click + Create API key to create a new API key.
- After you enter a name and description for the new API Key, the configuration of the new API key opens.
- Select the Permissions tab, expand the API drop-down, and check the checkbox for Use API Key for SCIM. Click Save. Remember this API key, because you need it for the SCIM integration.
By default, API keys do not have the SCIM permission. If you see ApplicationController::Unauthorized when you set up SCIM, make sure that this permission is enabled.
Enabling SCIM Provisioning
- Log in to your Okta Admin Dashboard. Go to the application that you set up before for the Persona SAML integration. In this guide, the name of this application is Persona Application.
- After you select the Persona Application, go to the General tab. Under App Settings, click Edit and enable SCIM provisioning. Then click Save.
Configuring the SCIM Integration
-
Go to the Provisioning tab for the Persona Application.
-
Edit the SCIM Connection with these values:
SCIM connector base URL https://withpersona.com/scim/v2 Unique identifier field for users userName Supported provisioning actions Select the following: Import New Users and Profile Updates, Push New Users, Push Profile Updates, Push Groups, Import Groups Authentication Mode HTTP Header -
Under HTTP Header, get the Persona SCIM API Key that you created in the prerequisite step. Paste it into the field next to ‘Bearer’ in the dialog. To get the API key, go to https://withpersona.com/dashboard/api-configuration in your Persona account.
-
Click Test Connector Configuration to make sure that the connection is successful.
-
Make sure that you click Save to save the configuration.
If you get a bad request error, you may need to open a support case with Okta. Ask Okta to enable SELECTIVE_APP_IMPORT_PLATFORM in your Okta org.
Provisioning to App
-
After you save the SCIM configuration, Provisioning to App should show. Click Edit to start the configuration.
-
We recommend this configuration for provisioning controls:
Provision Configuration Create Users ✅ Enable Update User Attributes ✅ Enable Deactivate Users ✅ Enable Sync Password ❌ Disable -
Make sure that you save the configuration before you go to the Import Users and Groups section.
Import Users and Groups
-
Go to the Import tab for the Persona Application.
-
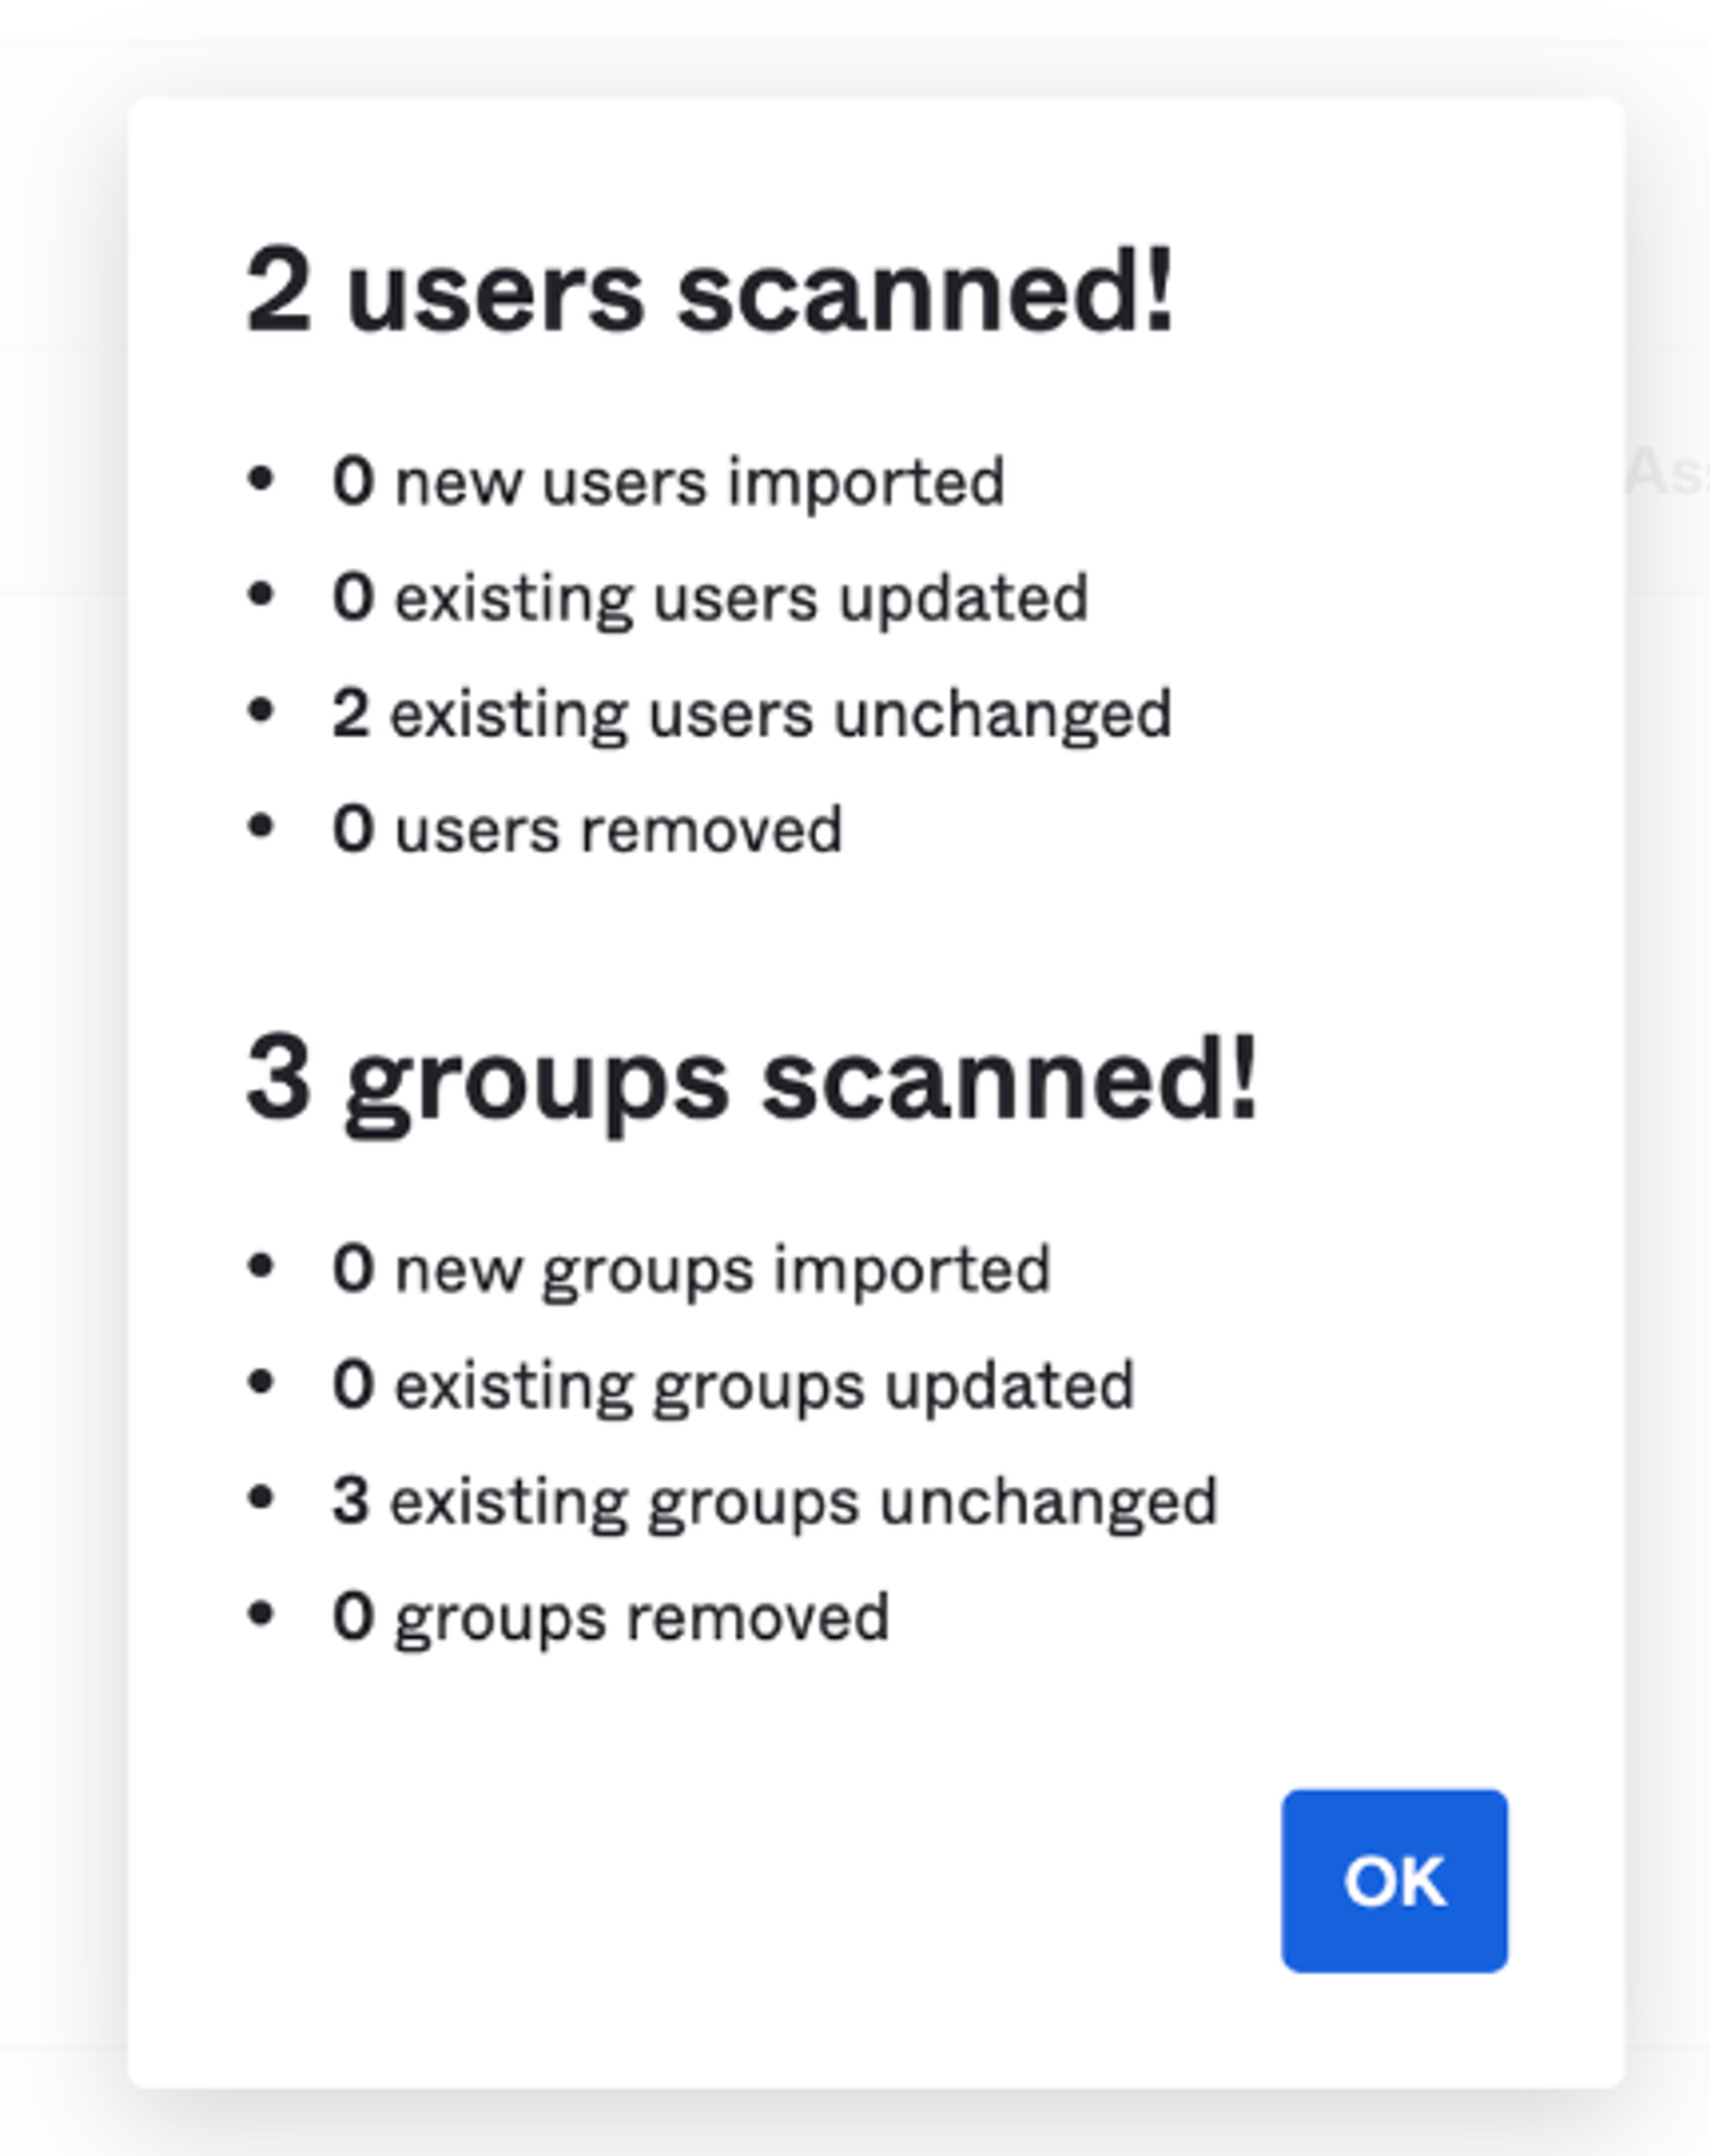
Click Import Now. This sends a query to the Persona SCIM API to get a list of all users and groups in your Persona organization. You can then map those to Okta users. After the import is complete, a confirmation should show how many Users and Groups were scanned.
Deactivated users inside Persona will also be scanned, however, it’ll show up as # of users removed in the Okta scan result.
-
After the scan, go to the next section to map the Users and Groups.
Create and map groups in Okta
- Go to Directory > Groups on the left side of your Okta dashboard.
- Filter by Group source type: App groups. The default groups
Admin,Analyst, andDevelopershow. These groups are the default roles in a Persona organization. All other custom roles that you created in your Persona Dashboard also show. - You must map those groups to Okta groups. If you do not have Okta groups to map to these app groups, create them now.
- Click Add Group. Give your groups a name and (optionally) a description. In this example, we create three new groups:
Persona-Admin,Persona-Analyst, andPersona-Developer.
- Click Add Group. Give your groups a name and (optionally) a description. In this example, we create three new groups:
- Assign each of the new groups (the groups with the Persona- prefix) to the Persona Application. Assign the applicable roles to persons in your organization.
- To update the
Persona-Admingroup, click its name. Then click Applications, and assign it to the Persona Application. - Click People and add the applicable users to each group.
- To update the
- After you do this for each group, connect the Okta groups to the app groups that you imported. Go back to the page for your Persona Application and go to the Push Groups tab.
- Click Push Groups, and then Find Groups by Name. Type the name of one of the groups until it shows.
- Select one of the groups. A dialog shows. On the right, it has an option with the default value Create Group. Change that to Link Group and select the applicable app group.
- You may see a message such as “Linking to this group will rename the group in Persona Application”. This is correct. Save, and do this again for each group. We recommend that you keep Push group memberships immediately checked.
- Do this for each of the Roles/Groups that you created.
Your SCIM setup is now complete.
The list of groups in your Okta account does not show the imported ‘app groups’ after this. But it should continue to show the Okta groups that you created.
How to Update User Emails
To update the email address of a user, update the Profile of the user in Okta. Change the Email and Login fields to the new email address. Okta then sends this change to Persona through SCIM.
Do not edit the Application Assignment for the user to override the username and email. If the user already exists in Persona, this can cause unexpected behavior, for example a duplicate user.
Plans Explained
SCIM with Okta by plan
| Startup Program | Essential Plan | Growth Plan | Enterprise Plan | |
|---|---|---|---|---|
| SCIM with Okta | Not Available | Not Available | Not Available | Available |