
Overview
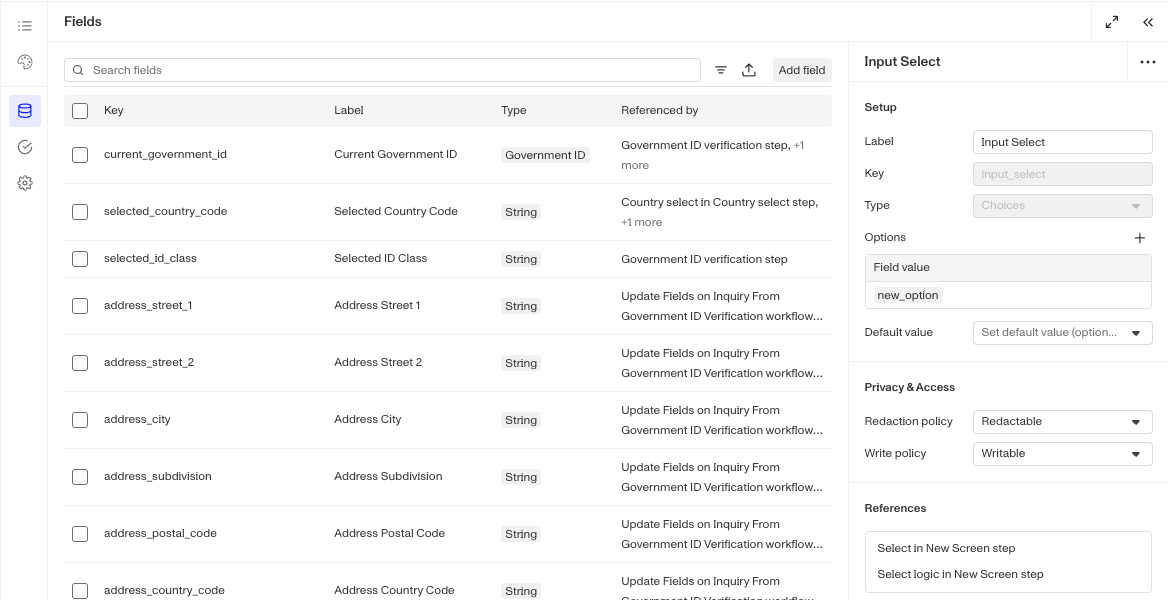
To ensure that your organization has all the relevant data you need for Inquiries Templates, you can add or edit fields via Inquiries Field Editor.
This unlocks a more seamless experience that enables you to:
-
Create, edit, deactivate, or delete fields
-
Set default field values and display them in the table view
-
Search by name and keywords and filter by a field’s data type
Field References
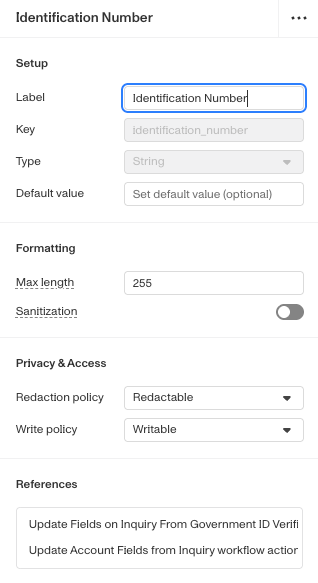
To assist with understanding where individual field are actually used within an Inquiry Template, there is a References section at the bottom of each fields configuration panel. For each time that field is referenced or used in the template, a click-able line with be added. If you click on one of the references, you’ll be navigated to that particular step.
An Inquiry Template can have a maximum of 1,000 fields.
Inquiry Field Types
Inquiry fields support multiple types of a data that they can contain. Depending on the field type additional configurations may be available in the Field Editor.
| Type | Description |
|---|---|
| Array | An ordered list of values, each conforming to a specified item type |
| Boolean | A true/false value |
| Date | A calendar date (no time) |
| Datetime | A date with a time component |
| Email Address | A string validated as an email address |
| File | A file or document attachment |
| Hash | A key-value map / nested object |
| Integer | A whole number |
| Multiple Choices | A multi-select list of values drawn from a defined option set |
| Choices | A single-select value drawn from a defined option set |
| Float | A decimal / floating-point number |
| String | Free-form text |
| Government ID | A relation to a government-issued ID document |
| Selfie | A relation to a selfie capture |
| Document | A relation to a generic document |
Where can you find the Inquiries Field Editor?
-
In the Dashboard, click Inquiries > Templates in the navigation bar.
-
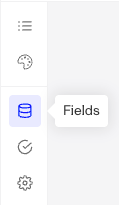
After adding an Inquiry template or selecting an existing one, click Settings then Fields to open the Field Editor.
How to add or edit Inquiry fields?
- Navigate to the Inquiries Field Editor.
- Click into an existing field or click Add Field
- Update Setup:
- Field label: the name of the custom field (displayed within the dashboard)
- Field key: a unique identifier for the field (also used when retrieving or updating the object via API)
- Field type: describes the type of field value allowed, such as an array, date, integer, string, etc.
- Array item type: allows you to set what time of item the array will contain.
- Options: For choices list, allows you to set the list of choices.
- Default value: the default value when no input is specified for the field.
- Update Formatting:
- Max length (char): the maximum number of characters allowed for the field.
- HTML Sanitization (toggle): a function that strips HTML tags from a string before it’s stored.
- Min file size (bytes): allows you so set a minimum file size that will be accepted.
- Update Privacy & Access
- Redaction policy: defines how and when data within the field can be redacted. If None is selected, no special behavior is applied to the field. If Never is selected, this ensures the field will never be redacted. This is intended for fields that do not contain personally identifiable information (PII), such as timestamps.
- Write policy: defines how a field can be modified after it has been set. If None is selected, no special behavior is applied to the field. If Write Once is selected, it cannot be changed after its initial value is set.
Plans Explained
Inquiries Field Editor by plan
| Startup Program | Essential Plan | Growth Plan | Enterprise Plan | |
|---|---|---|---|---|
| Inquiries Field Editor | Available | Available | Available | Available |
| Adding fields | Available | Available | Available | Available |