
What is the Inquiry File Upload form component?
File Upload is an Inquiry screen component that lets a user upload a file or document. You can control which file types are allowed, the maximum file size, and how many files can be uploaded, customize its appearance, set translations, and define logic that governs when it appears.
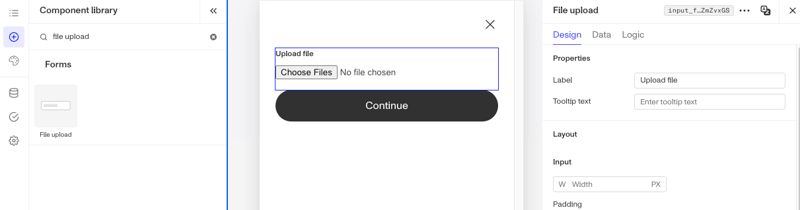
A File Upload component is useful when you need users to submit supporting documents, such as a proof of address or a business document.
How do you add an Inquiry File Upload form component?
-
Navigate to the Dashboard, and click on Inquiries > Templates.
-
Find and click on the Inquiry template you want to edit, or Create a new template.
-
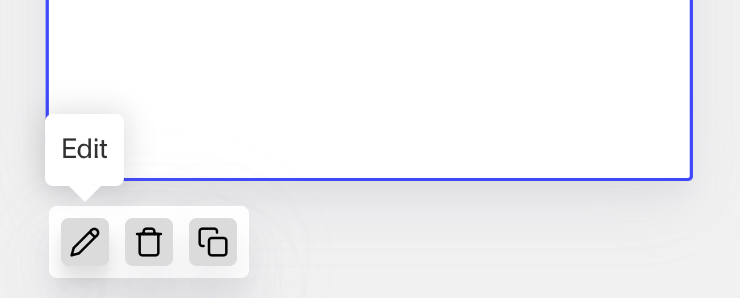
Hover over a screen and click the Pencil icon, or double-click the screen to open it in the Screen Editing View.
-
In the Left Panel, search the Component Library for ‘File Upload’.
-
Drag and drop the File Upload form component into your screen, and reposition it by dragging it around.
-
Click on the File Upload form component to open its settings in the Right Panel. The panel has three tabs: Design, Data, and Logic.
- On the Design tab, under Properties:
- Label: Set the label shown above the field.
- Tooltip text: Set the tooltip text that gives users more context.
- On the Design tab, use the Layout, Typography, and Appearance sections to style the component. See the Design tab section on the Screen Step components in Inquiries page for details.
- On the Data tab, under Fields, choose the field the input is written to. You can also add custom validation rules to control when the entry is considered valid. See the Data tab section on the Screen Step components in Inquiries page for details.
- On the Data tab, under Validations:
- Required: Set whether the input is required (Always, Never, or Conditional).
- File upload limit: Set the maximum number of files a user can upload.
- File size limit: Set the maximum size allowed per file, in MB.
- File type: Restrict which file types can be uploaded. Click the + to add types from the list, or search for a specific type. See the Data tab section on the Screen Step components in Inquiries page for details.
- On the Logic tab, add rules that govern when the component appears, and when it does not. See the Logic tab section on the Screen Step components in Inquiries page for details.
- On the Logic tab, add rules that govern when the component appears, and when it does not. See the Logic tab section on the Screen Step components in Inquiries page for details.
- On the Design tab, under Properties:
-
Use the actions at the top right of the panel to copy, delete, or set translations on the component. To translate the text, see Editing translations for your Inquiry.
-
Close the step. You’ll have to Save and Publish the template to begin using it.
Learn more
Plans Explained
File Upload form component by plan
| Startup Program | Essential Plan | Growth Plan | Enterprise Plan | |
|---|---|---|---|---|
| File Upload form component | Available | Available | Available | Available |